
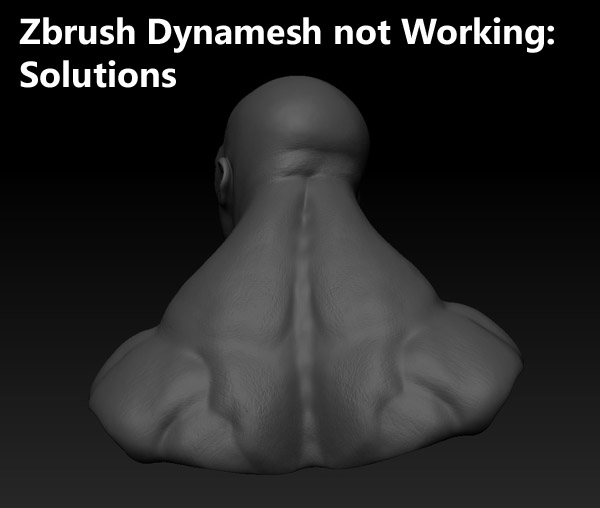
Zbrush in itself is an amazing tool for organic 3d modeling such as that used in medical animations. Dynamesh adds another level to the very unique and intuitive modeling workflow of the software. With it, you will benefit from efficiency in modeling and cut down on time and effort spent on your project.
However, dynamesh can sometimes be problematic. In this article I will help you solve the issue of dynamesh not working.
As a general rule, Zbrush Dynamesh will not work properly if the Dynamesh button is accidentally deactivated, if you have not made changes to your mesh, if you have masks applied, or if you only move the resolution slider. You may also try changing the model size if it is not responding. More information below.
Let us start with uses of Dynamesh and then go on to potential problems and solutions.
Why use DynaMesh?
If you are a ZBrush fan, you will find Dynamesh an exciting tool for sculpting. It eliminates the need to focus on topological constraints and allows you to change the overall shape of a mesh by simply pushing, pulling, and combining all geometry features into one. Also, it allows you to easily remove geometry just the same way you do in Boolean operations. You do not need to worry about stretching geometry and keeping your faces a perfect size like in other programs which allows you to focus on your vision, not the underlying geometry.
Dynamesh Not Working
Some issues with Dynamesh not working can be easy to address. For example, your Dynamesh might simply be turned off after the first pass. Make sure the Dynamesh button is turned on.
If it seems like Dynamesh is not working in that it does not evaluate your mesh, try making a change to your mesh with other tools and see if that helps.
Another issue is masks, you cannot have any masks applied if you are trying to use Dynamesh. There might be a small mask applied somewhere accidentally even. To solve this, simply go to the Tool menu and choose Masking/Clear or Ctrl Click on your background to clear masks (following by Ctrl Click again to evaluate changes).
Dynamesh Not Updating
Dynamesh will not update if you dont make alterations to your mesh. Also, if you change the resolution adjuster and don’t make corresponding changes to the mesh, it may be difficult for Dynamesh to update. Furthermore, if you make minor changes, such as changing the brushstroke and not changing the resolution, Dynamesh may not update.
Notice that the mesh surface area impacts the resolution potential of the mesh, so the best way to work with the Dynamesh is to use a tool whose size value is either 2 or close to 2. If the objects are too small or too large, you are likely to have issues with Dynamesh.
One of the reasons why the objects may refuse to work is that the size of polygons the Dynamesh generates may be fixed. Objects with more surface area are likely to get more polygons, while smaller ones are likely to receive less. So, a Dynamesh with a larger resolution is likely to receive more polygons since it has more resolution potential.
Note that the DynaMesh works best at low and middle resolutions for sculpting. It means that it is an ideal way of creating a base before you start ZBrush sculpting or using your editing tools.
Thus, the DynaMesh should be able to update to allow you to use it during the early stages of sculpting. But it will be of no use if you have already started sculpting. Also, there is a limit on the finer details that the sculptor can establish with the Dynamesh. It implies that once you establish the form, the Dynamesh will be of no use and thus, it may necessitate that you move to a traditional subdivision level and start sculpting the finer details once again. So its better to do all your pulling out of model appendages and large distortions which would normally produce stretching in the beginning.
Dynamesh Resolution Not Working
If your Dynamesh resolution will not increase when you need it to, first make sure to try and change the mesh surface and then see if resolution has been modified. If that doesnt work, adjust the size of the model, either up or down.
When the Dynamesh resolution cannot go higher, it becomes difficult for sculptors to cut and prepare the model they are working on and proceed to print. The mesh may increase, meaning that you must subdivide to get the best results possible given your circumstances. Subdividing will help you get better results when exporting, mapping or poly painting.
But in some cases, the print process is unlikely to reproduce all the details that your Dynamesh generates. Also, the Dynamesh may not work if you have already transitioned to a multi-sub division level process. This may happen after you establish a major form, and there is no need for re-meshing.
It may also require that you check the resolution setting in the Dynamesh. Besides, if the minimum resolution is not working, you may consider increasing it to the maximum.
Large resolutions in the ZBrush world space receive more polygons when you Dynamesh. This means that larger objects are likely to have more polygons thanks to the larger surface area. But the Dynamesh doesn’t need to receive more polygons for it to capture more details. Even though you can still get more polygons if you increase the slider resolution and the mesh scale, the final number of polygons you get will depend on the surface area and the details.
You may also scale your resolution by subdividing the model sections of the objects. But if you still don’t get the desired results, consider modifying the surface when meshing. However, this option may not increase your resolution. So, be sure to check the object’s size and consider increasing or reducing it depending on your results. Also, try to re-Dynamesh it or bring it back to the original size.
Below is a good video on how to fix Dynamesh creating too low of a resolution mesh:
Dynamesh Destroys Mesh
If your Dynamesh destroys your mesh, you can go around it by ZRemeshing it to between 10-20 K. For better results; you will need to divide your level face count by as many times as possible to get a good face count for ZRemeshing. For example, if your highest-level count is 2.6 million, dividing it by 4 gives you 600,000, which if you divide by another 4, you will end up with 150,000. The next subdivision gives you 37,500, while the last subdivision gets you to 9375. Thus, you will need to project it to the lowest level and see if you end up with a cleaner topology.
Also, check and ensure that you don’t start sculpting if your polygon level is very high. If it is already high, you may throw it away to allow you to start afresh. It is the most important stage in sculpting and will determine the final results you get.
Fixing Dynamesh Holes
When you divide the mesh, and it results in holes, you must find a way to fix it. Typically, the Dynamesh should utilize the mesh volume to generate geometry. So, what does it mean? It means that if the volume is low, the Dynamesh will think that you intend to cut a hole through it. It is the reason why you may end up with Dynamesh holes. But you can create a thick extraction and see if it fixes the problem.
Additionally, Dynamesh holes are likely to appear if the backface masking is not turned on. If this is so, it means that the sculpted details are mirrored from the inside. As a result, you will need to ensure that the backface is turned on. Turning the backface on allows you to create more volume as you pull away from the surface. It reduces the chances of pulling up the underside.
Add the thickness – when you add thickness to your geometry, it allows Dynamesh to close all the holes. To add some thickness, you may need to extract some material on the mesh until the desired thickness is reached.
If working on a mesh with rear-facing surfaces close to each other, ensure separate playgroups. It hides the surface and reduces the effect during sculpting. Also, masking is useful and can stop the brushes from impacting the rear-facing surface.
You can also smooth out the hole that appears after your Dynamesh by simply pressing CNTL +Z so that you inflate the area. Therefore, the second Dynamesh should smooth it out and make it even.
Of course, there are many ways to make ZBrush Dynamesh work properly. If it does, Dynamesh will allow you to create a base mesh and perform ZBrush sculping. The tool will allow you to add volume to your clay and consistently add strips of clay. Therefore, it helps the sculptor maintain a uniform resolution while guaranteeing the uniform distribution of the mesh. Notice that when you use this tool consistently, the problem of stretched polys will not arise. Also, you can convert any of the existing geometry into DynaMesh and use it in the initial stages of designing.
Below is a useful video on fixing Dynamesh holes:
I hope you found this article helpful and your Dynamesh is in better shape. Click the following link to learn about the best software for 3d modeling.
Recent Posts
Mastering point cloud to 3d model conversion can feel like translating whispers from another dimension into vivid sculptures. You've got this cloud of data points, a chaotic concert of coordinates...
Let's say you've got a drawing, something you sketched out during a burst of inspiration, and now you're itching to see it leap off the page into three dimensions. Well, that’s exactly what I did...